
Turn on the free CDN
Serve your images, CSS, JavaScript and fonts from 600+ locations worldwide, at no extra cost.
3 min read Updated
Every site on a Rabbitflare server can use Amazon CloudFront for free. It keeps copies of your site's images, CSS, JavaScript and fonts in 600+ locations worldwide, so visitors get them from nearby, which is most of what a page downloads. There's nothing to set up: no DNS changes, no plugin, and logins, carts and forms keep working exactly as before.
 The nearest CDN location sends images, CSS, JavaScript and fonts
 Turn it on
-
Open the site's CDN tab
On the site's page, open CDN and choose Turn on CDN.
-
Wait a few minutes
The tab shows each step: creating your CloudFront distribution, deploying it to locations worldwide (usually 3 to 10 minutes), checking it serves your files, then switching your site over. You can leave the page meanwhile.
-
That's it
Your site's files are now served by the CDN. The tab shows its address and how much it served over the last 7 days. If you use a caching plugin, the caches of popular ones are cleared for you when the CDN goes on or off.
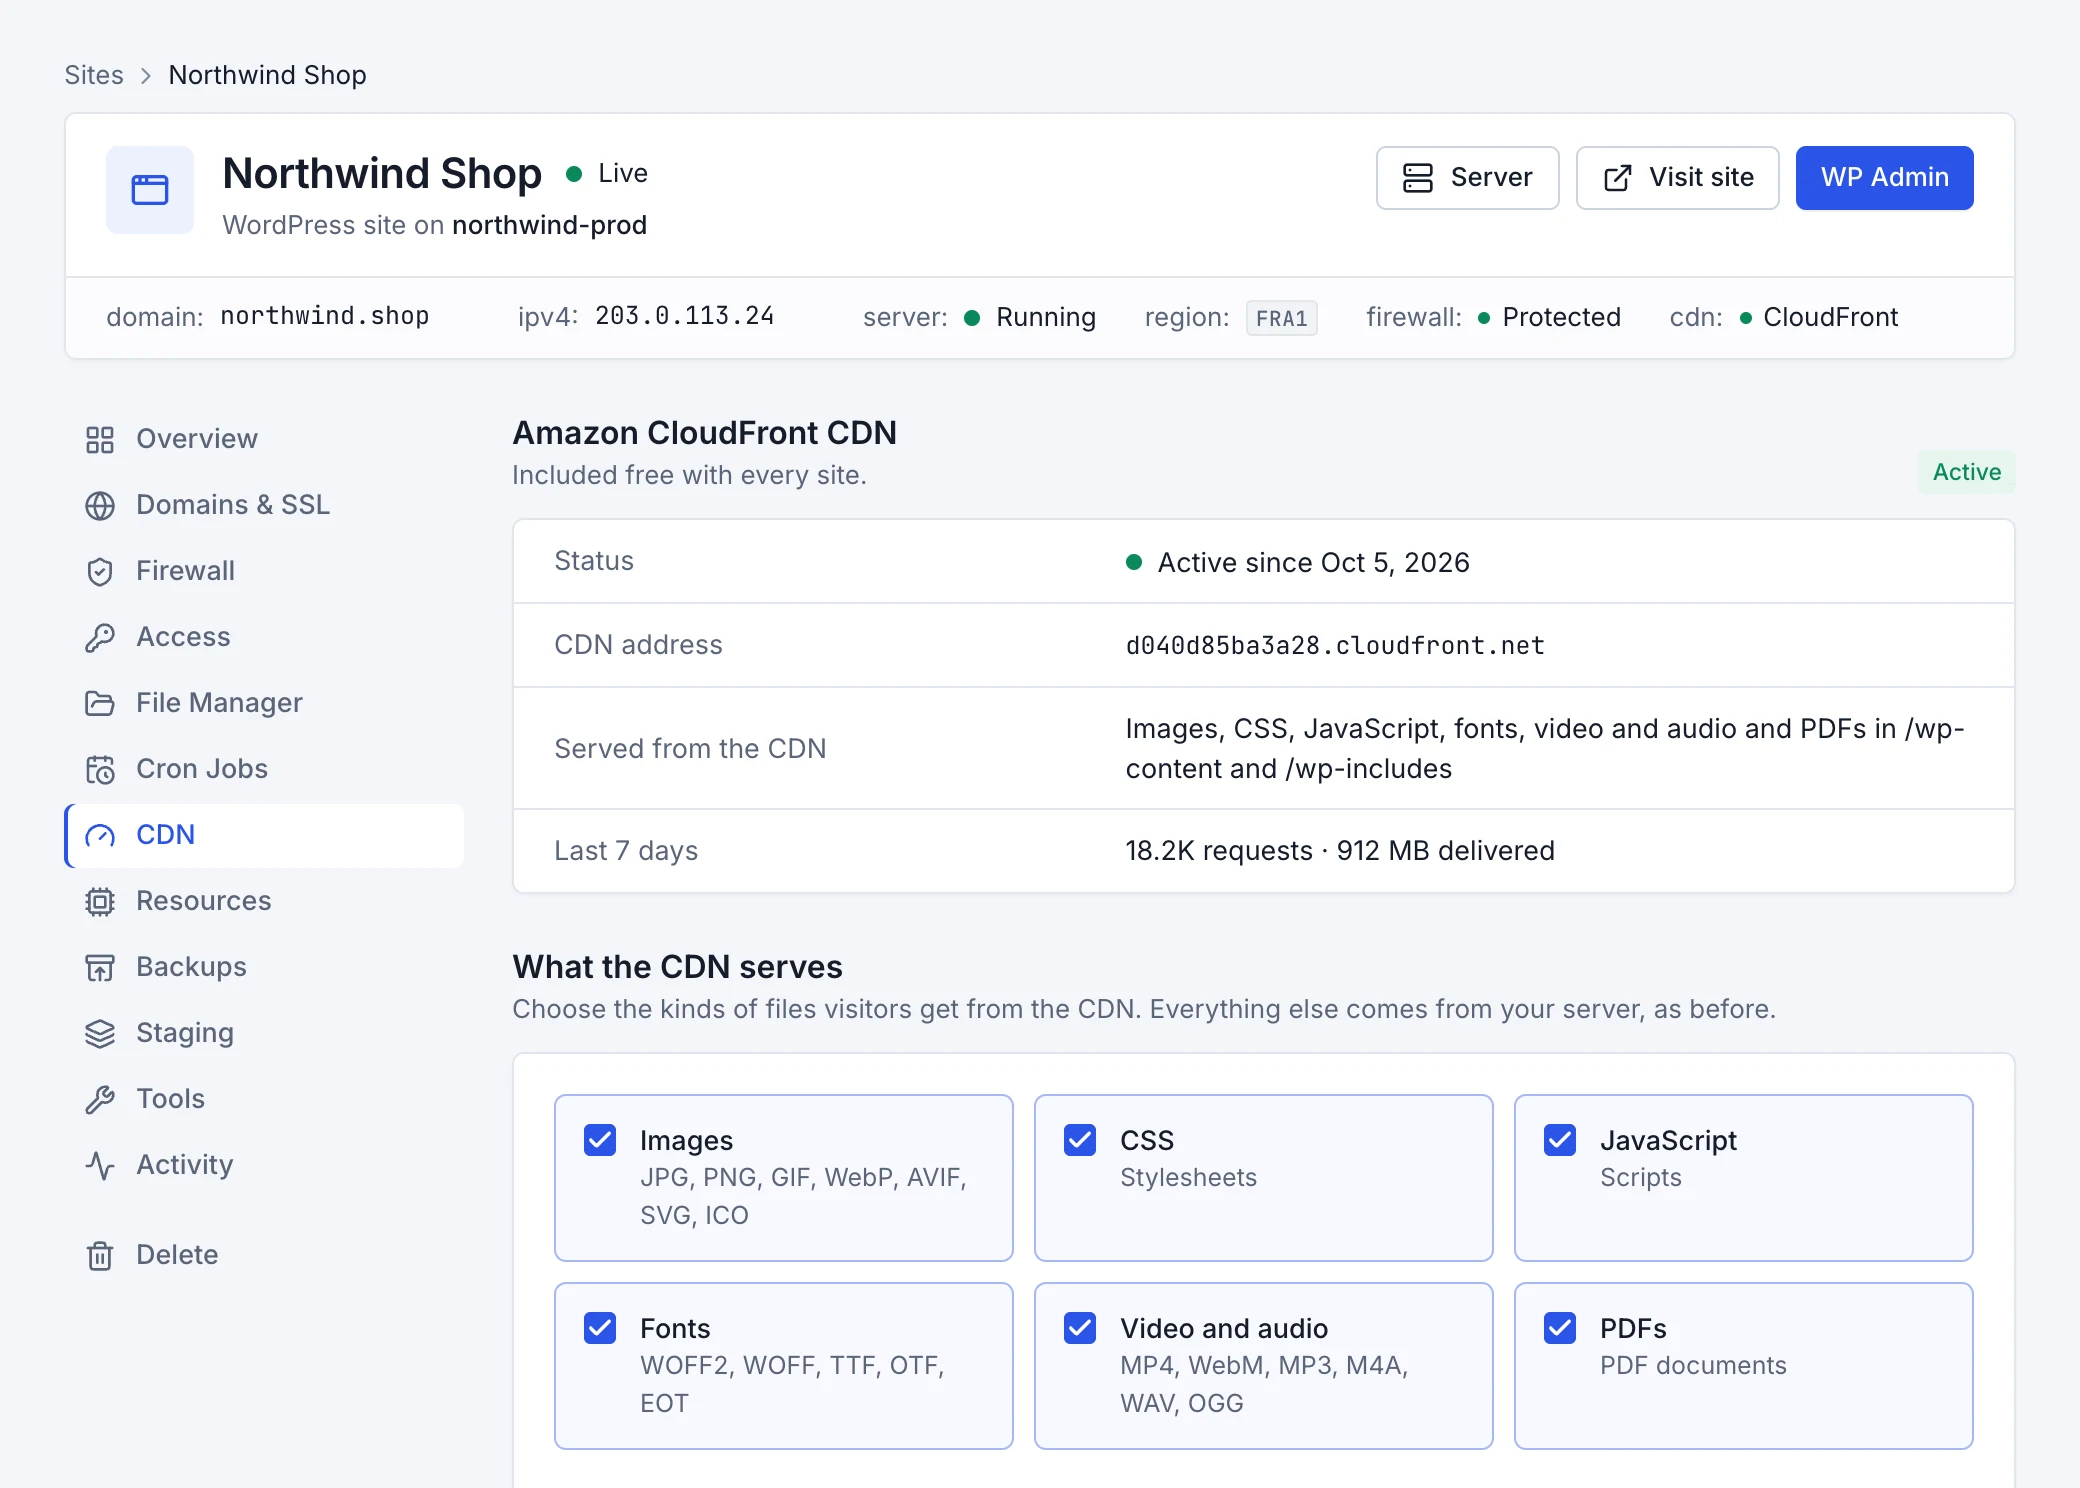
Choose what it serves
Under What the CDN serves, choose the kinds of files visitors get from the CDN, from your site's /wp-content and
/wp-includes folders:
| Kind | Files |
|---|---|
| Images | JPG, PNG, GIF, WebP, AVIF, SVG, ICO |
| CSS | Stylesheets |
| JavaScript | Scripts |
| Fonts | WOFF2, WOFF, TTF, OTF, EOT |
| Video and audio | MP4, WebM, MP3, M4A, WAV, OGG |
| PDFs | PDF documents |
To keep some files on your server, list their paths under Keep these paths on your server, one per line: files whose address starts with one of them are never served from the CDN, for example for a plugin that only works from your own address. Choose Save and the site uses the new settings straight away.
Clear the CDN cache
Usually there's nothing to do: when plugins and themes update, WordPress gives their files new addresses, and files you change in the
File Manager are cleared from the CDN for you. You only need to clear the cache after replacing a file but keeping its
name, for example by uploading a new logo.png over the old one.
- Clear everything makes every visitor get the latest version of every file.
- Clear files clears only the paths you list under Clear specific files.
Clearing takes a minute or two.
Use your own hostname
The CDN starts with its own address, like d1a2b3c4d5e6f7.cloudfront.net. To serve files from your own domain instead, like
cdn.example.com, add it under Custom hostname with Add hostname, then create the two DNS records it shows:
- one proves the hostname is yours, for its free SSL certificate,
- one sends visitors of the hostname to the CDN.
Use a name that isn't used for anything else yet. If your DNS is on Cloudflare, set both records to “DNS only” (grey cloud). Once they're in place, setup usually takes a few minutes. To go back, remove the hostname: your site switches back to the CDN's own address straight away.
Turn it off
At the bottom of the CDN tab, Turn off switches your site back to serving every file itself, straight away. Pages keep working throughout, and you can turn the CDN back on at any time.